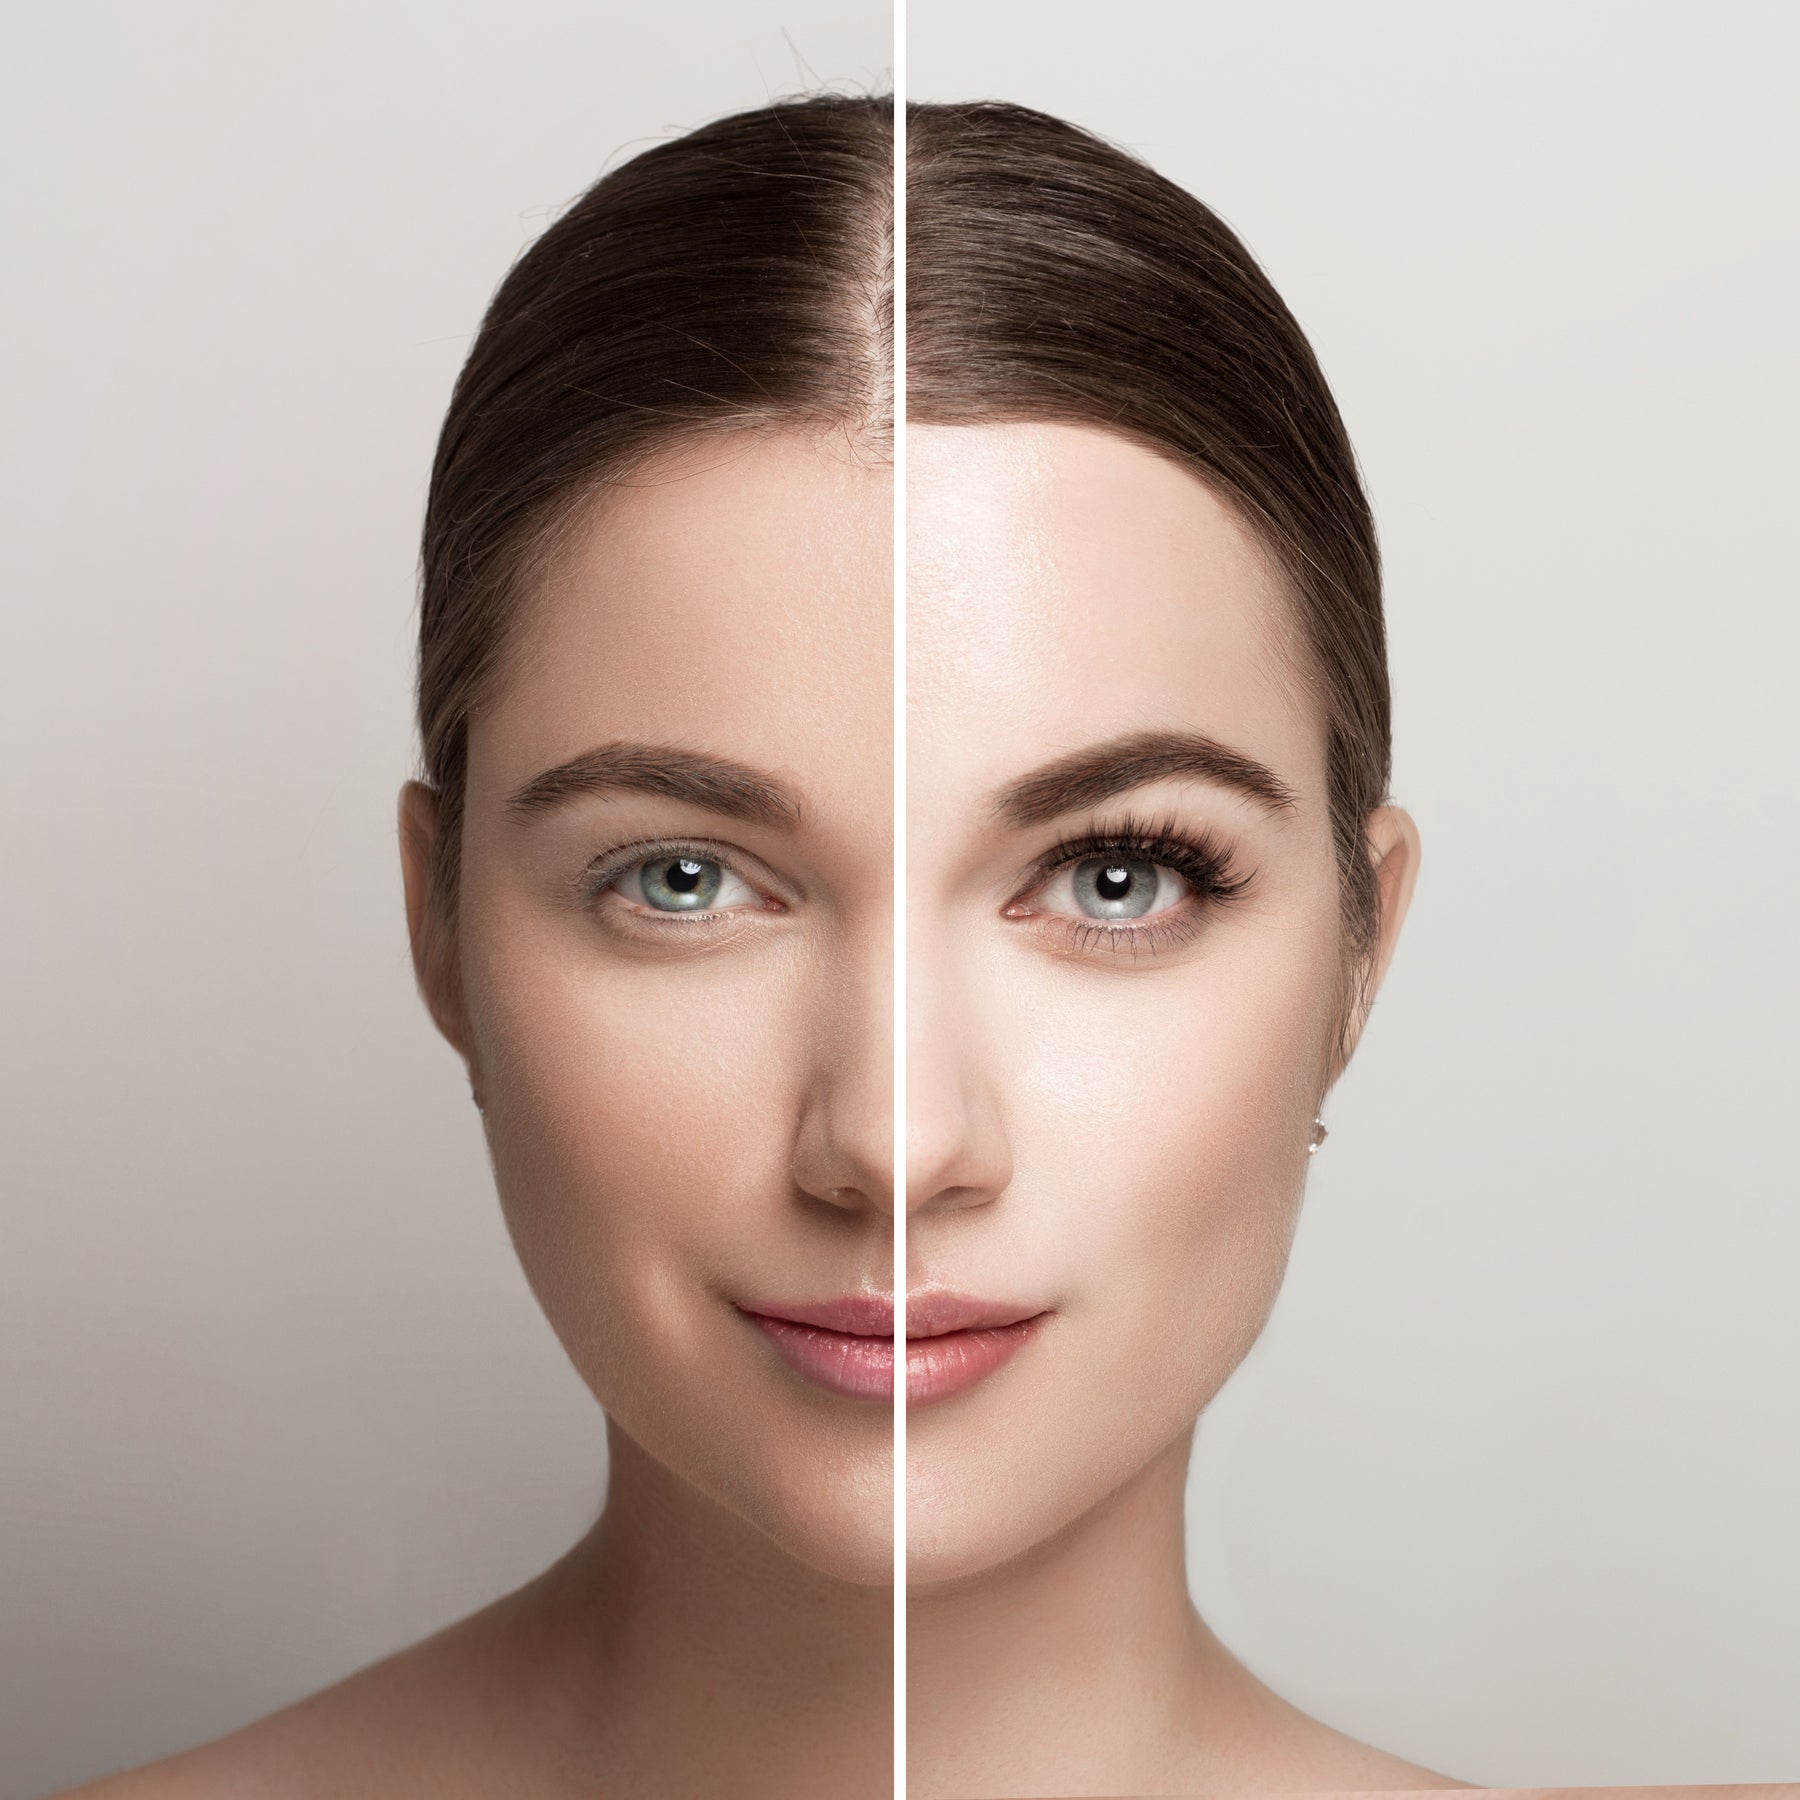
LASH GLUE 101
Lash glue: they're pretty much meant to do one thing — adhere strip or individual lashes to one’s eyes. However, you’d be surprised with the range that is made available nowadays. That being said, false lashes have been used for decades. Although, back then, it seemed like false lashes were more “permanent”. The procedure involved taking hair (the patients own, of course) and THREADING it to the eyelid! Go home people, you’re drunk.
Fortunately for us nowadays, we’re able to have a gorgeous set of our own without the pain. Below, we break down the basic and the not so basic ways of adhering falsies.
TYPES OF LASH GLUE
There are 3 main categories of lash glue: latex, non-latex and black lash adhesive. Here, we help you understand the key differences between them.
Latex - Probably the most common type of glue out there is latex based. Did you know: along the ballpark of 19 million Americans (or roughly 6% of the total population) have a latex allergy. Severities differ from person to person of course. The problem is, not many people are aware that they have this allergy or worse, they develop it at a later age. Latex allergies can be very uncomfortable. Some with milder allergies will feel an itching sensation or swelling. Although far from an anaphylactic reaction, we should take precaution as it could happen. With that said, why use it if you can avoid it, especially around the eyes? The squeeze tube application doesn’t help either if you’re in a hurry!
The cons of latex glues do outweigh the pros in our opinion. Pro: Because of its rubbery consistency, it can be removed quite easily from the eyes and the band for those who don’t plan on wearing it for longer periods of time. It does set quickly as well.

Latex glue doesn't come with a brush applicator because it will dry out the brush on the first application.
Black Glue - This type of glue is not very common and for good reason. Unless you’re doing a very dramatic eye makeup with black eyeliner, we’re not a fan of it. Even someone with lots of experience with lash application could make mistakes, leaving black glue all over the eyelid. That being said, if you’re working with a clear band, you wouldn’t have to cover up the band as the glue dries matte black.

Dark latex glue can be a little finicky if you're in a rush.
Latex Free - Honestly, if you’re not using a latex free glue already, why aren’t you? Generally speaking, we find latex free glue to have much less harmful ingredients. Why use a glue with 50 ingredients (that we can’t even pronounce) when a simple 2 ingredient glue does a better job? This glue is perfect for those with sensitive eyes or are simply allergic to latex.
If you’ve ever tried a latex free glue, you’d find that it’s noticeably different in a few different ways:
Consistency: It doesn’t look or feel (or smell for that matter) like Elmer’s School Glue. You’ll see that it’s got a thinner consistency that doesn’t dry as fast, which is why it can be packaged with a brush. Hooray for easy application! Ever seen a brush with latex glue on it? Chances are, you saw it once upon a time, now it’s in a trash somewhere.
Wear: Don’t be fooled by the thinner consistency. The moment your lashes are on, they aren’t coming off until you want them to. Latex glues have a rubbery, stretchy consistency it dries, which makes it easy to peel off.
This glue applies white, but dries clear, so it’s easy to know when the glue has set.
Con: If you live in an area with extremely cold weather, you’ll have to make sure to store it properly. Once frozen, it does affect the strength of the adhesive.

ESQIDO latex free glue dries clear and matte. It also comes with a brush applicator to dispense the perfect amount of glue.
3 QUICK TIPS TO MAKE APPLYING YOUR LASHES IN A FLASH
1. Look down into a mirror. Ever struggle to get your lash band close to your lash line? Try looking down into a mirror at an angle. It helps your lid stabilize and from there, you'll be able to see your entire lash line.
2. Apply more glue on the outer corners. This is where a brush applicator helps! Run a small amount of glue on the length of the band, then take an extra pass at both ends of the lash for extra hold.
3. Want intense lasting power? Clean off as much glue residue and make sure you have a smooth band to start. Apply glue on the band, let dry and brush a second layer of glue! Doing this gives you an extra grip. "Bind" your natural lashes with your falsies by giving it a few squeezes through your lash curler!

